Before You Start
Make sure:
-
You have access to the Everywhere Hub
-
You have permission to manage devices
-
The device is active and assigned to your account
Step 1: Log In to the Everywhere Hub
-
Go to www.everywhere-hub.com and sign in using your username and password.
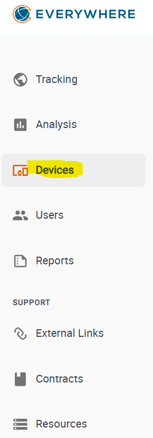
Step 2: Open the Devices Page
-
From the main menu, select Devices.
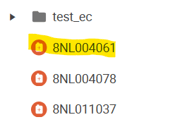
Step 3: Select the Device
-
Locate the device you want to update and click the device name to open the device details page.
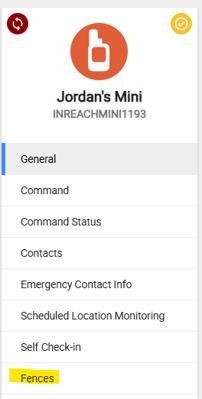
Step 4: Select "Fences" in Device Settings
Step 5: Add Fence
Select the Blue plus icon to create a new Geofence in the Hub.

Step 6: Draw Fence & Save
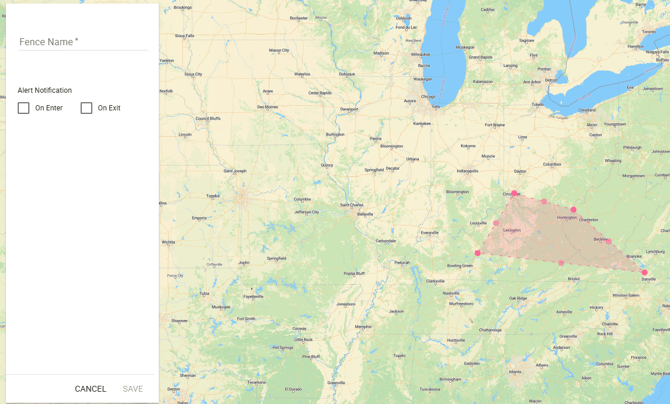
- Use the red dots to highlight the area you want to outline.
- From there, name your Geofence, chose weather you wanted to be alerted on entry or on exit or both.
- Click Save.
Step 6: Set-up Geofence Alerts
- The next step is to setup Multi-Channel notifications so that you, another Hub user, or someone outside the Everywhere Ecosystem is alerted when this device enters or exits the geofence. View the following link to see how you can Send Geofence notifications to your cell phone, WhatsApp, E-Mail or SMS!
Related Articles:
1. How to Set-up "Multi-Channel" Notifications